Lustrous Leaves Hot Foil without the Foil – Make a Gorgeous Card from a Sketch – Butterfly Inspirations Blog Hop

Ah Fall! That time when the weather begins to cool, sweaters and boots come out of closets, the new school year begins, and the world blesses us with a kaleidoscope of colors in the form of falling leaves. I love color, so fall leaves are a great inspiration to me. Today I am using Lustrous Leaves Hot Foil Dies to bring all that beautiful color to life – but without using the hot foil! Many of the Stampin’ Up! hot foil products are great to use even if you do not want to use the foil with them. You can always use the stamps, cutting dies, and masks without hot foil and still make gorgeous cards! When you are done with my post, check the bottom of this post. Check out my video showing how to make this project here. This post is made in conjunction with my very talented friends on the Butterfly Inspirations Blog Hop. I can’t wait to see what everyone made. Their links are listed below!
This month, we are all making a card using the same sketch from the catalog. Did you know there is a ton of inspiration beyond the samples in the catalogs? This sketch is from p. 13 in the September-December 2026 catalog – sort of. On that page, you will find 7 sketches – and also a QR code that brings to you 50 more card sketches, 28 more tag sketches, and 8 more scrapbook sketches! For this month, we used one of the additional sketches. Here is the sketch we used this month:
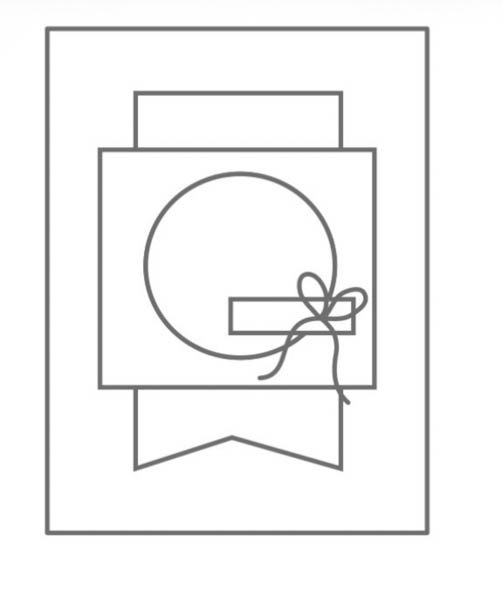
When I looked at the sketch, I immediately saw a gorgeous, colorful wreath in the circle. But when I went to use it, the square just did not work with my design. So I changed it to make it my own. One of the best things about sketches is you can always personalize them! I took out the square and added a rectangle directly on top of the card base, plus I moved the sentiment into the middle of the circle. And voila! My fall wreath card using Lustrous Leaves:
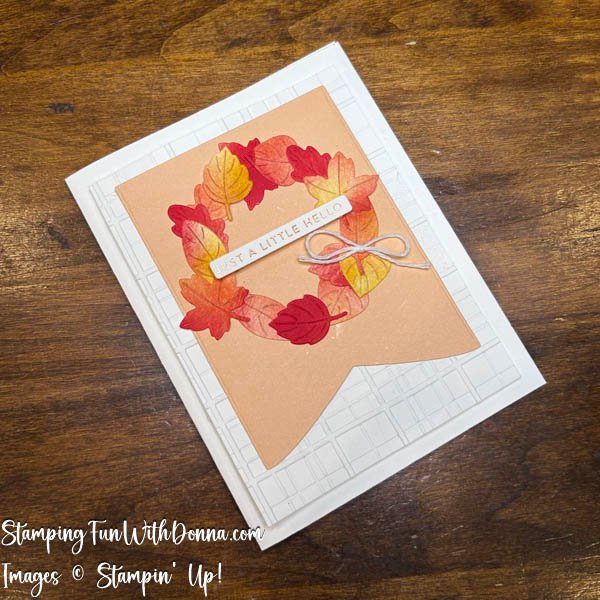
I love it! I used one of my secret weapon coloring techniques. But first, let’s start at the beginning.
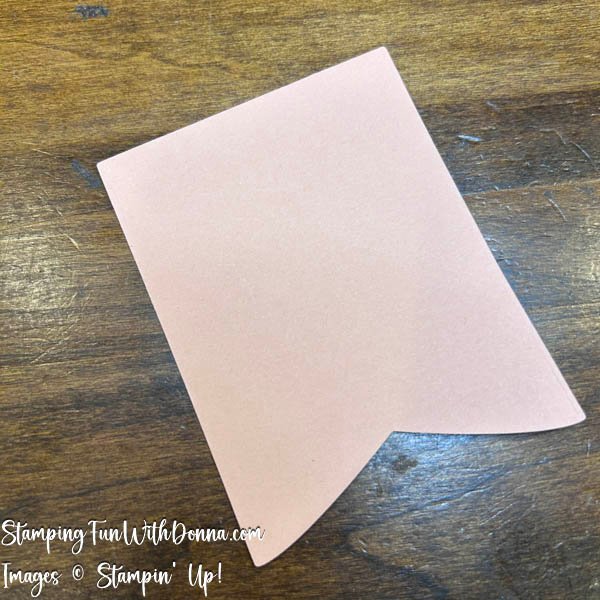
I created a card base as usual, cutting a full sheet of Basic White cardstock in half and folding it in half again creating a
4-1/4″ x 5-1/2″ card base. Next I embossed a 3-3/4″ x 5″ piece of Basic White with the Forever Plaid 3D Embossing Folder. Plaid is a great look for fall! Then I cut a banner from Petal Pink using one of the Party Banner dies. I really love those dies for their ease of use and gorgeous curves.
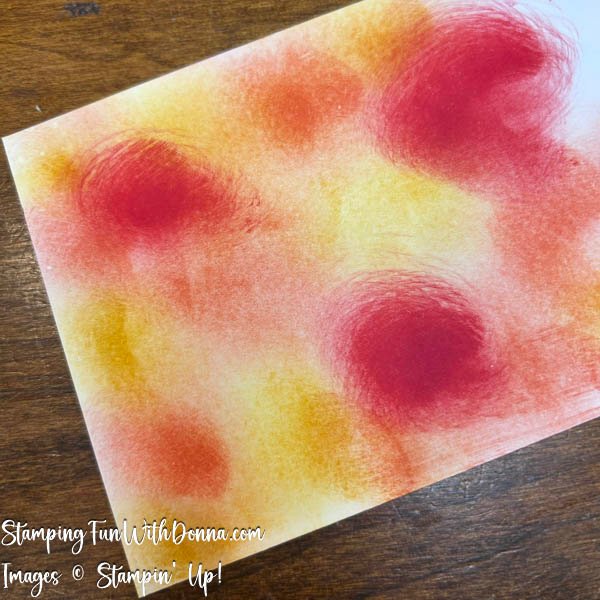
Now to make the leaves. Here’s my secret weapon coloring tip. I love to take a piece of cardstock and, using blending brushes, make splotches of color all over. I used Crush Curry, Calypso Coral, and Poppy Parade. When you use different colors, make sure they overlap. You do not want the splotches to be uniform – the unevenness of it is the secret weapon – but you want to make sure they are not streaky. The paper does not look pretty now, but just you wait….
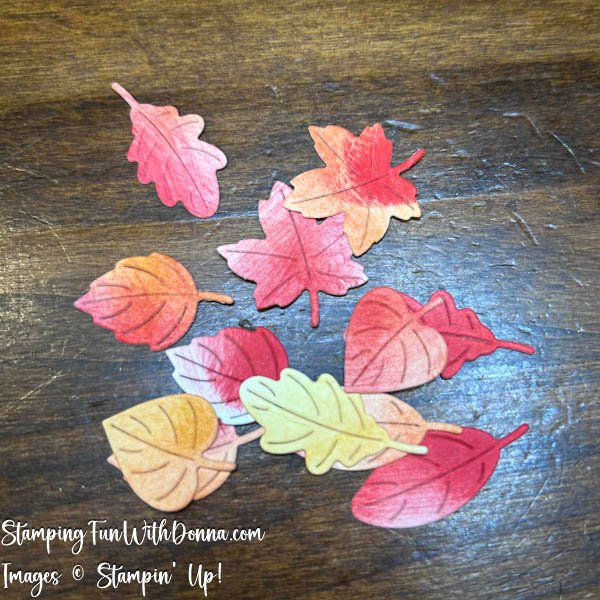
Put the regular dies from Lustrous Leaves on top of the paper. There are 15 regular cutting dies and you can fit them all onto one piece of paper. And look at how pretty they come out! You will have 15 die cut leaves to play with.
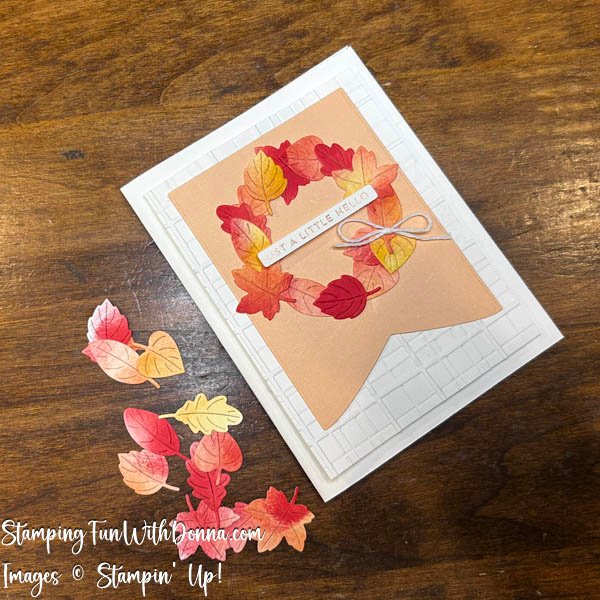
Use a pencil or pen and a circle shape to draw a circle on the center of the pennant shape to guide the shape of your wreath. One at a time, pick up the leaf shapes with the putty end of your Take-Your-Pick tool, put a dot of liquid glue on it, and glue it directly over the circle shape. Place all the leaves around the wreath. Place a sentiment (I used a sentiment from Sweetly Sentimental Hot Foil Dies) in the middle and afix with Stampin’ Dimensionals. Place a bow on the wreath as well.
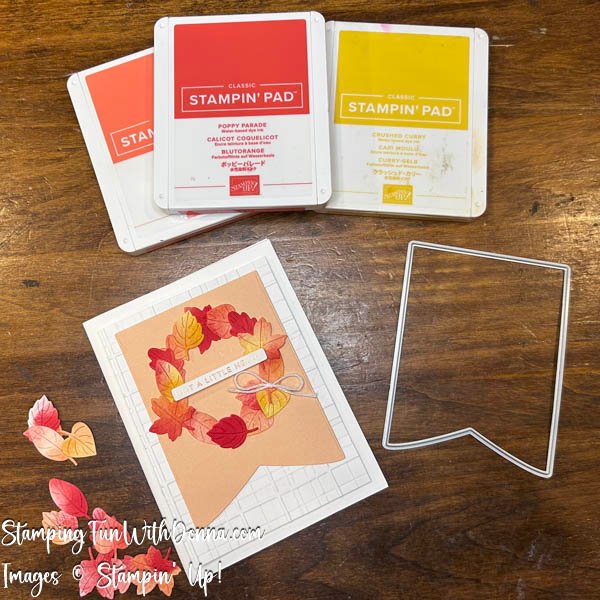
The final steps are to adhere the Banner onto the Forever Plaid embossed piece with Stampin’ Dimensionals, and glue that entire piece onto the card base. And you are done!
This post is made in collaberation with the Butterfly Inspirations Blog Hop. Please check out all my very talented friends’ blogs. We are all making projects using the same sketch, but I will bet they are all very different. I can’t wait to see all their amazing visions!
- Tonya Bowers – click here first to check out Tonya’s creation, then move on through them all until you return to my page.
- Patricia Houser
- Sally McFadden
- Tina Taylor
- Donna Biderman – you are here!
Please feel free to reach out to me for any reasons, I am always happy to help.
Leave a comment and let me know what you think of this!
Happy Stampin’!
Donna Biderman