Make a Beautiful Gift Bag Quickly and Inexpensively
As we round the corner into September, we know that lots of parties and holidays are not far behind. And that of course means gift giving opportunities. Whatever the gift, it always looks extra special when you make a beautiful bag to put it in. You can make a stunning bag by using two pieces of designer series paper in just a few minutes. Read on to find out how!

When you are done with my post, check the bottom. This post is made in conjunction with my very talented friends on the Butterfly Inspirations Blog Hop. The theme is month is Fall/Back to School – I can’t wait to see what they made. Their links are listed below!
If you are reading this when I post it, select designer series paper is on sale! For the month of August 2026, many designer series papers (and some regular cardstock and two-tone paper as well) are 15% off! So now is the time to purchase designer series paper for all the bags you will make! In addition, earn 2x rewards August 19-21, 2026!
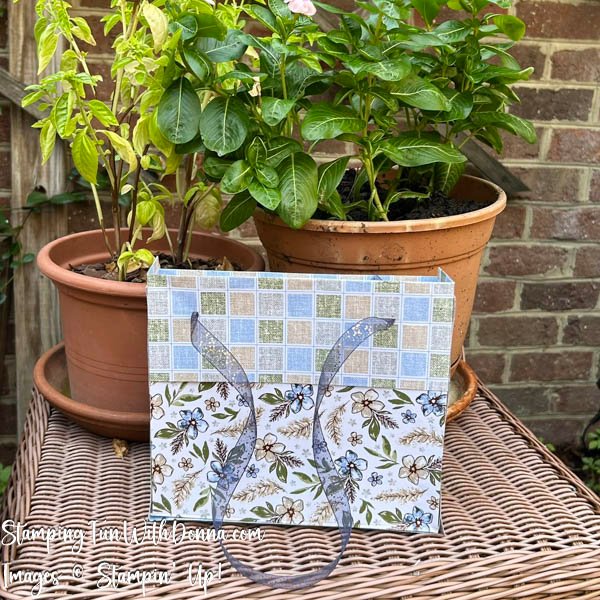
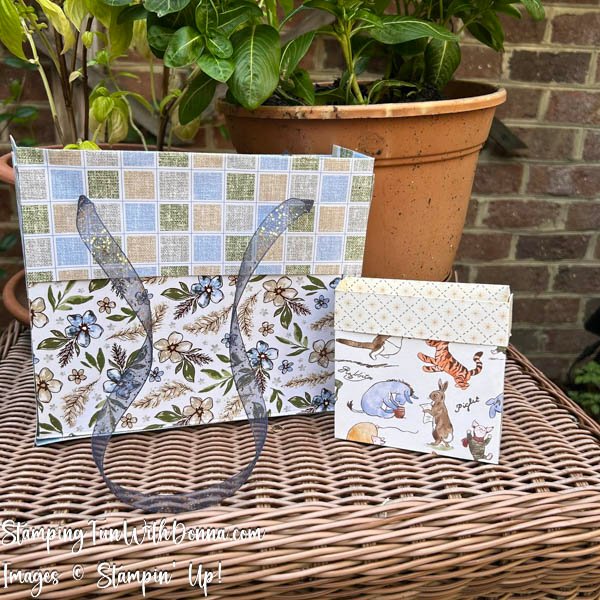
You will not believe how quick and easy these stunning bags are! Each of them takes just two pieces of designer series paper and some Tear and Tape! You can add handles if you wish. I often do that with the larger bag but not the smaller.
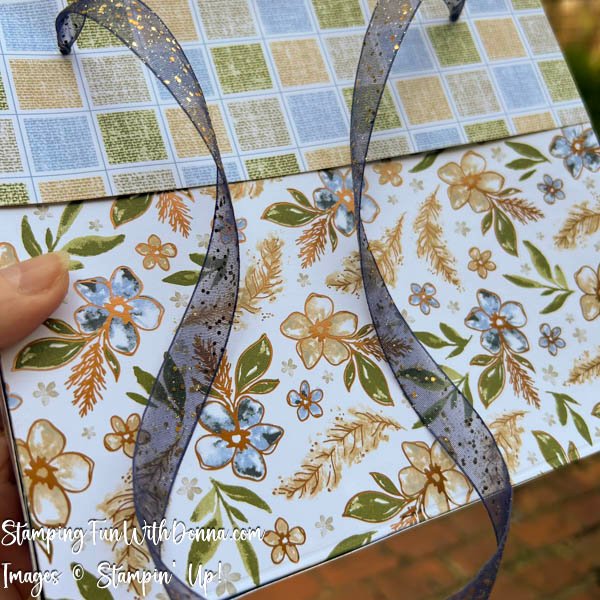
For the larger bag, take two pieces of 12″x12″ designer series paper. For the bag above I used the absolutely gorgeous Delicate Dreams Specialty Designer Series paper. It’s so stunning Stampin’ Up! is having trouble keeping it in stock. If you see it, grab it! The smaller bag is made with the Silly Old Bear Designer Series Paper. You can of course use any paper you want!
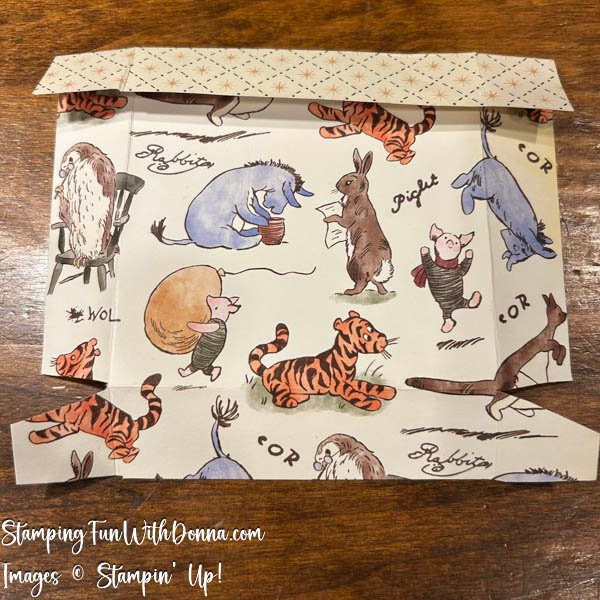
For the larger bag, take two identical pieces of designer series paper and score at 2″ on three sides and 3″ on the top. You need to fold the top down to form the top flap, then fold the sides and bottom along the score lines so that the folded sides/bottom go in towards the inside and the folded top goes towards the outside.
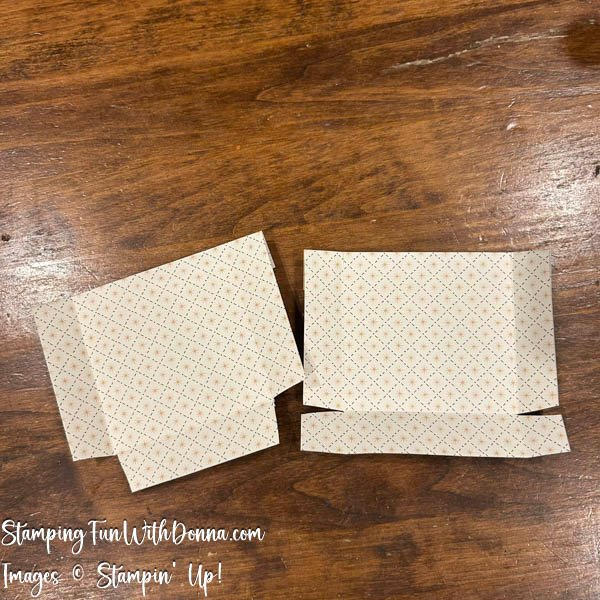
Place the paper on your work surface with the top up. With one piece of designer series paper, fold the cut the paper in along to the horizontal score marks near the bottom to the vertical score mark but no longer. On the other piece of designer series paper, do the same but also cut up from the bottom, cutting the 2″ squares completely off. Cut a small triangle out of every side of each flap. That lets it fit together better, creating a professional-looking bag.
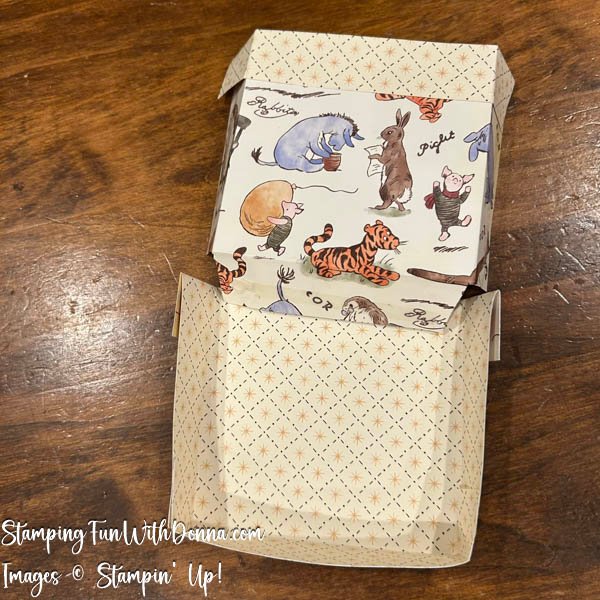
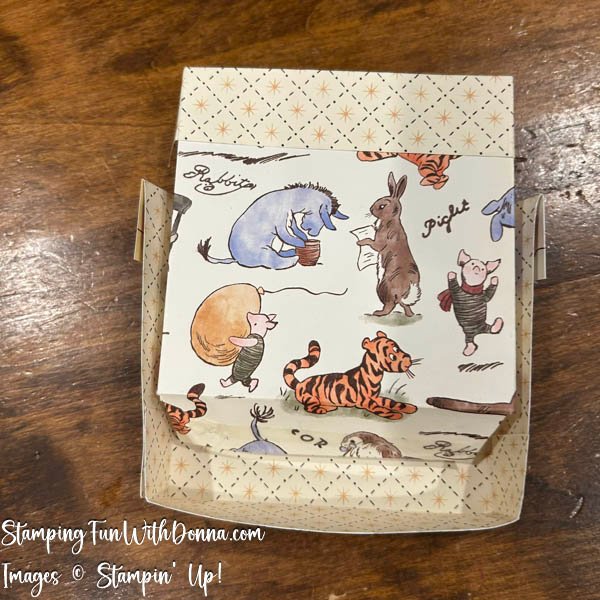
Fold the flaps in and adhere to make one-half of the bag. With the other piece (without flaps, the piece where you cut the flaps completely off), adhere the bag inside the first one-half of the bag you made, forming a full bag.
Watch the video, shown here, to see me make one – it’s easier than understanding the written directions!
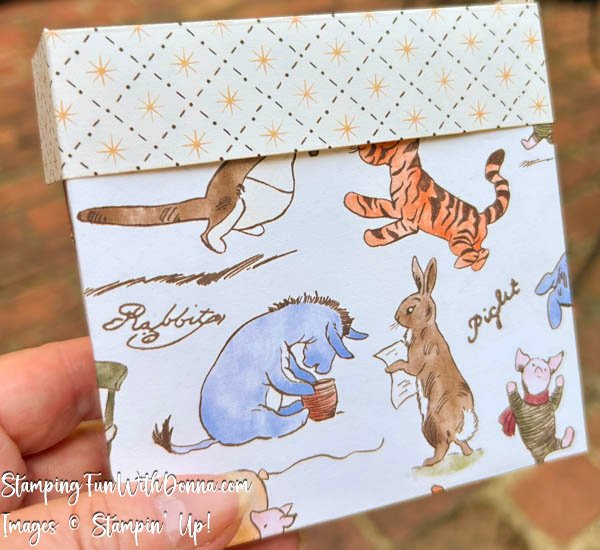
To make the smaller gift bag, I used two sheets of designer series paper that were each 6″x6″. I followed exactly the same directions but adjusted for the size. So for the 6″x6″ paper, I scored all four sides at 1″. This bag is so cute! It makes a great bag for teacher gifts, gifts to kids, or small hostess gifts.
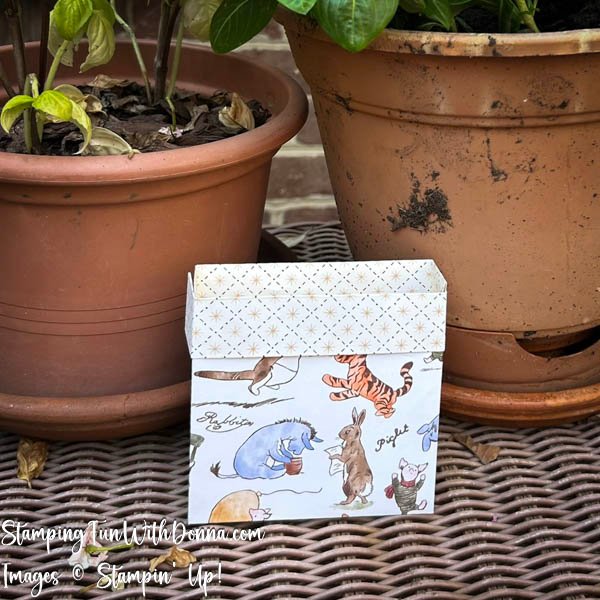
That’s it! I make these all the time. They are fully customizable, inexpensive (especially compared to bags you buy), and not at all difficult.
This post is made in collaberation with the Butterfly Inspirations Blog Hop. Please check out all my very talented friends’ blogs. We are all making projects for fall and/or back to school. I can’t wait to see all their amazing visions!
- Donna Biderman – you are here! Click on the next name (Tonya Bowers) to see hers, then click on the next, and so on, until you have seem them all and return back here.
- Tonya Bowers
- Patricia Houser
- Sally McFadden
- Tina Taylor
Please feel free to reach out to me for any reasons, I am always happy to help.
Leave a comment and let me know which designer series paper you chose to make a bag from!
Happy Stampin’!
Donna
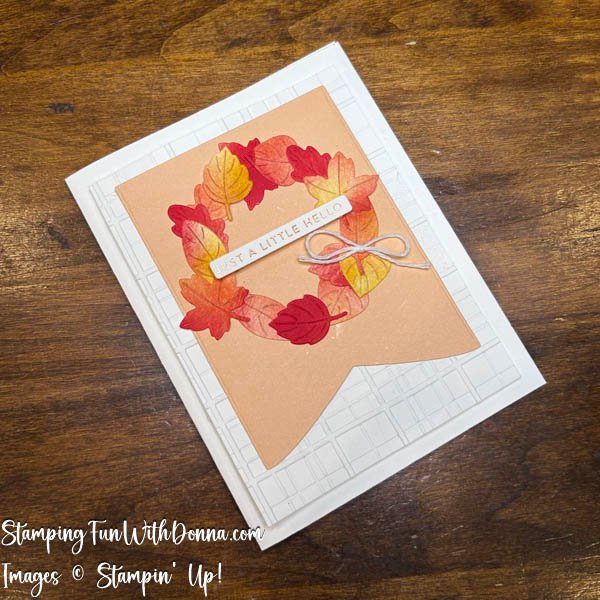
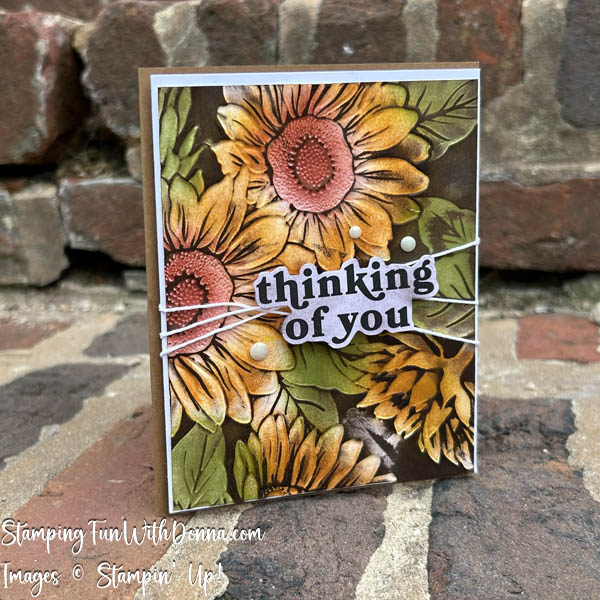

There are so beautiful! Why do I always forget to make my own?!
Thanks Sally! I make these all the time. They are so much fun to make!
Wow, love this!! Cute, cute bags! And so easy!
Thanks Patricia! They are so much fun.
I love this idea! Cute bags.
Thanks for the reminder!! lol I do love to make my own gift bags but I always forget to do it! Thanks for the directions too!