Diamond Fun Fold Card
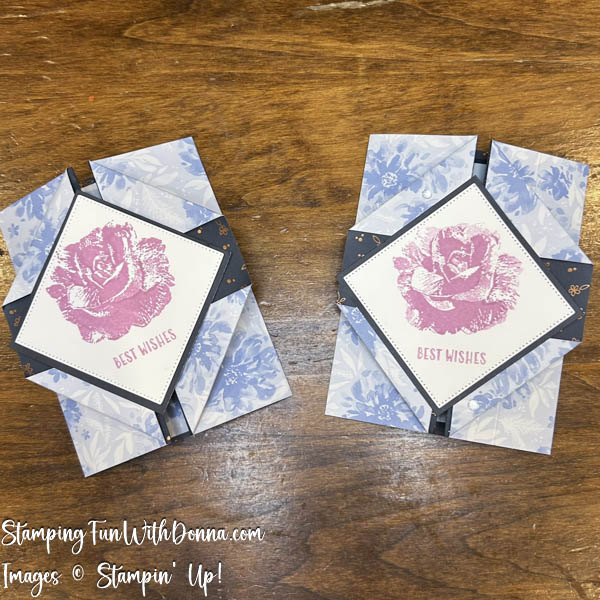
This Diamond Fun Fold card looks complicated and is super easy. In fact, except for the sentiment spot,the entire card is made from less than one-half of one sheet of Designer Series Paper and takes ten minutes or less to make! Perfect for those times you are running out the door to go somewhere and need a quick yet stunning card.
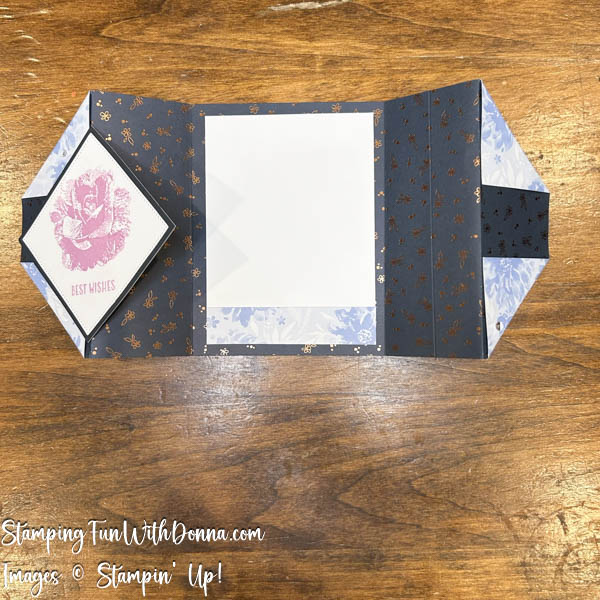
The card opens by pulling the two “barn doors” open and reveals the opposite side of the same sheet of designer series paper.
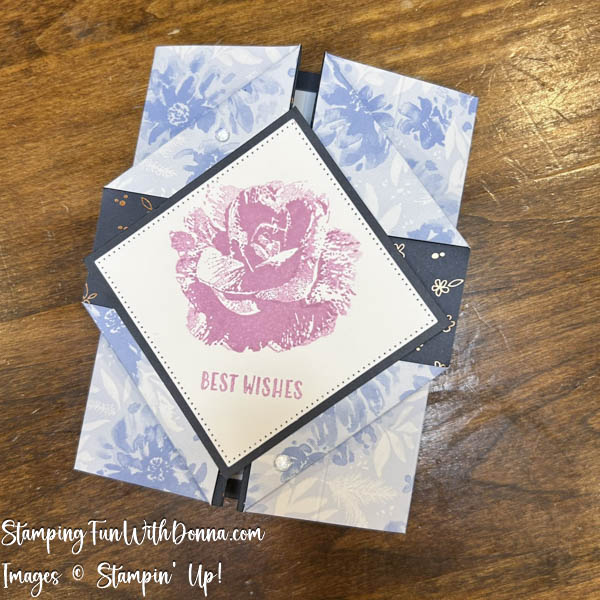
I used the gorgeous Delicate Dreams Specialty Designer Series Paper. When choosing a designer series paper to use, choose one without a direction to the design and one that the two sides of the paper work well together as you will see both sides at the same time. I used Begonia Belle stamp set, July 2026’s Product of the Month from Stampin’ Up! You can substitute any image or sentiment you want. I also used the Stylish Shapes squares – if you don’t have them (although you should, they are so useful!) you can cut squares.
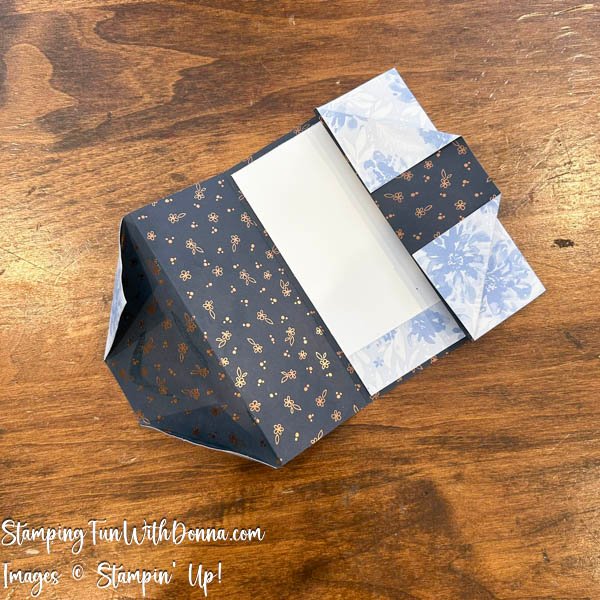
To make the card, cut a piece of designer series paper to 5 1/4″ x 12″. Laying the designer series paper horizontally, score at 2″, 4″, 8″ and 10″. Usually I just score at 2″ and 4″, then turn the paper 180 degrees and score the other side also at 2″ and 4″. Fold the inside scores (the 4″ and 8″ scores) into the middle, then fold the outside scores (2″ and 10″) back. You will have a “barn door” card that opens from both sides and with the middle 5 1/4″ by 4″. Close the card and fold each of the four edges in to the center. Now you have the card base. Glue the right side points down so that they don’t keep popping up. No need to glue the left side points.
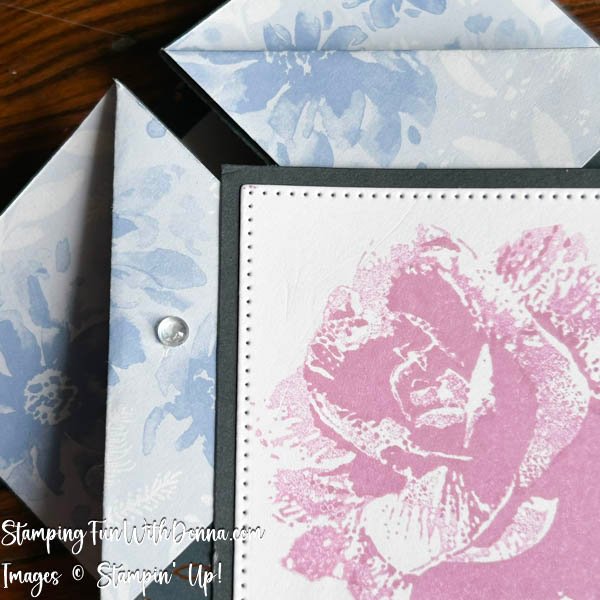
I used the largest square from the Stylish Shapes dies to cut a piece of Basic White cardstock. (If you do not have the Stylish Shapes or don’t want to use them, cut a square that is 2 3/4″ x 2 3/4″.) Stamp your sentiment/image on this piece. Then cut a coordinating piece of cardstock to 3″ x 3″ (I used Secret Sea) and glue the stamped piece on top. Important: when you are stamping, hold your cardstock in the diamond shape – if you hold it in the square shape, your stamped sentiment/images will be sideways! Glue this piece on the left side of the designer series paper only, lining the points of the diamond evenly in the troughs of the designer series paper. If you also glue the right, you will glue your card shut!
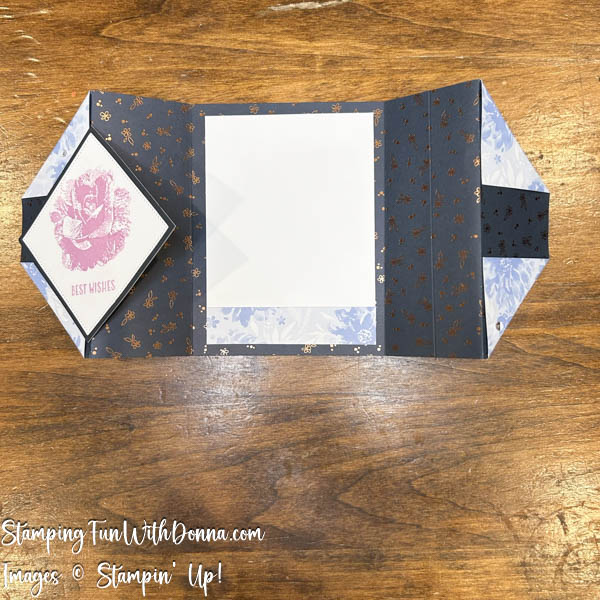
Glue a 3 3/4″ x 5″ piece of Basic White in the center to add your writing, I like gluing a 3/4″ x 3 3/4″ strip of the same designer series paper on the bottom of this white piece, to bring some more of the outside in. Add some bling (always!) and your card is done (I used Shimmering Dots here). Option: If you want, glue a piece of coordinating cardstock on the back that measures 4 1/4″ x 5 1/2″. I don’t do this because I like the look of the designer series paper spanning the entire back, and the white cardstock for your writing adds enough support.
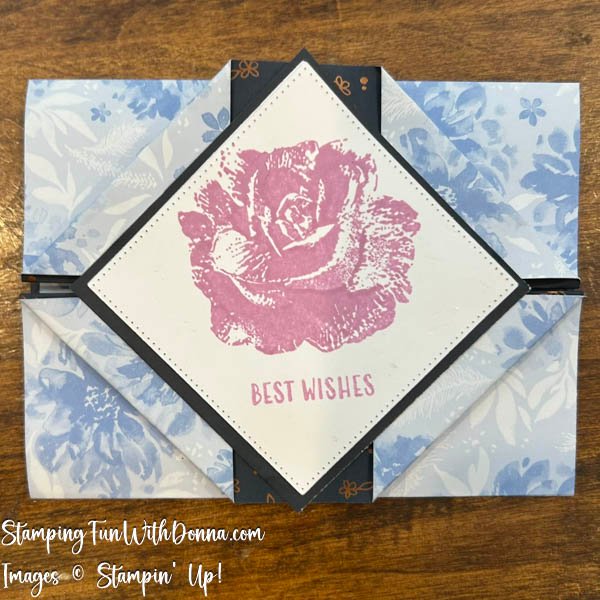
You can also turn the project to the other (landscape) orientation.
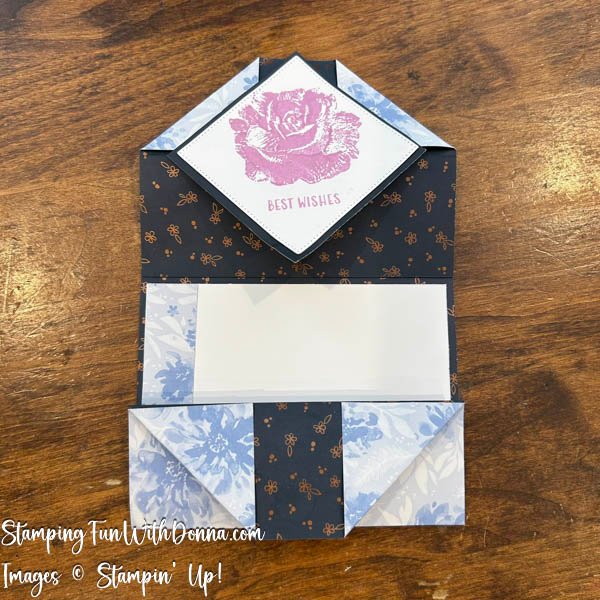
When you turn the card to the landscape orientation, it opens by pulling the sides up and down rather than out to the right and left.
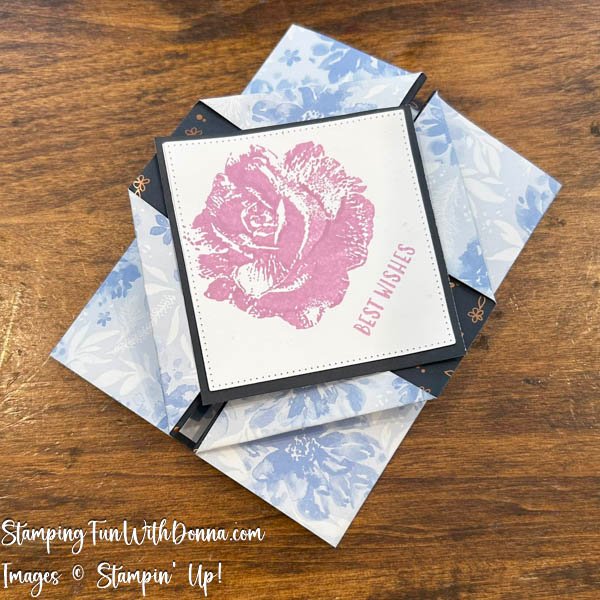
That’s it! It’s really simple yet looks complicated. Check out my video on YouTube here. All my videos can be found at StampingFunWithDonna on YouTube.
One last thing. Did you notice that I stamped the two-step Begonia Belle differently on the two cards? Both were stamped in Fresh Freesia, one of the two steps in full strength and one stamped off. But I changed which I stamped off and which was full strength. I think they both look great but I think I slightly prefer the one on the right! Which do you prefer?
Happy Stamping,
Donna