Birthday Card Using Balloon Festoon and CASE’d from the Catalog – Butterfly Inspirations Blog Hop
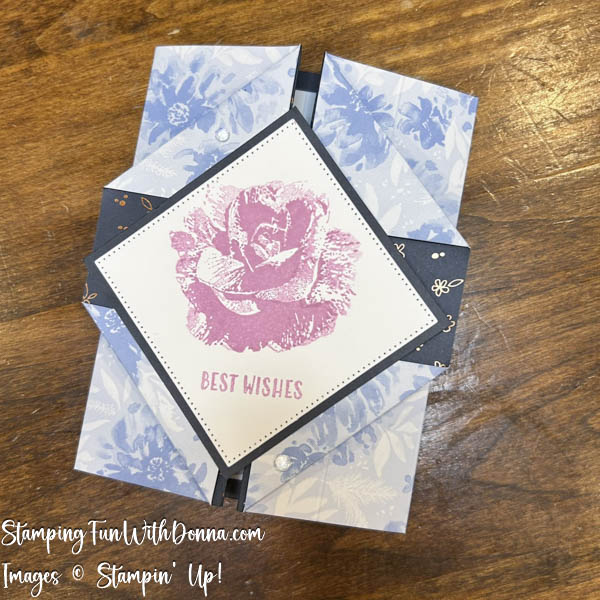
Today my crafty friends on the Butterfly Inspirations Blog Hop and I are CASE’ing a card from the September to December 2026 catalog. To CASE a card means to Copy And Share Everything! I was completely entranced with the Christmas Mice slimline card on page 25 of that catalog. I used the Balloon Festoon dies and swapped it from a Christmas card to a birthday card. Check out my card below and also check the bottom for the links to my crafty friends’ blogs and watch their videos as well!

Watch my video here!
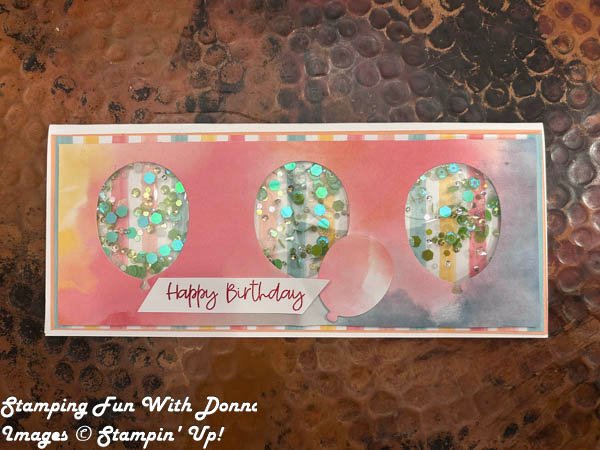
What do you think of this shaker card? Fun, right? And the recipient will certainly enjoy shaking all those embellishments! People can’t resist an interactive card.
Here, I created a card base by cutting a piece of Basic White cardstock to 7-3/4″ x 9″, and folding in half to create a slimline card measuring 3-3/4″ x 9″.
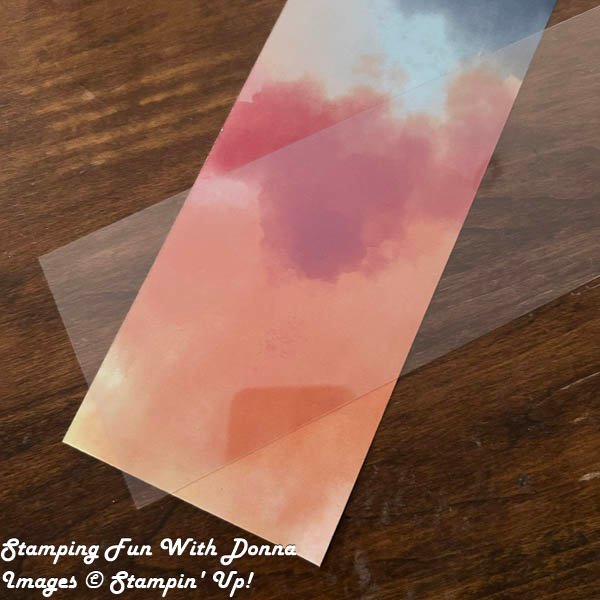
Cut a layer of paper (here the striped paper from Beautiful Ordinary Life) to 3-1/2″ x 8-1/2″. Cut the top layer of paper (here the mottled piece of paper from Beautiful Ordinary Life) to 3″ x 8-1/4″. Cut a piece of window sheet just a little smaller than the mottled piece of paper.
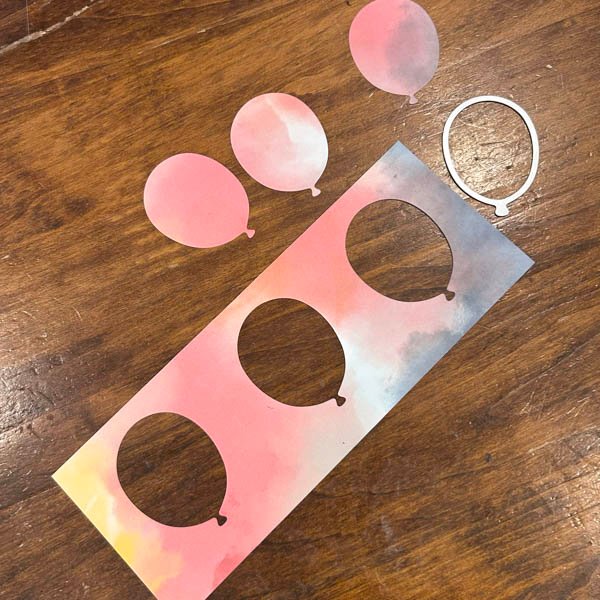
Using the second to smallest balloon from Balloon Festoon, cut three balloons from the mottled paper, spacing them evenly across the middle. Turn the paper over and put glue on the back, then cover with the window sheet. Do not get any glue on the window sheet, but glue around the holes and top, bottom, and sides of the paper. Do not let the window sheet show.
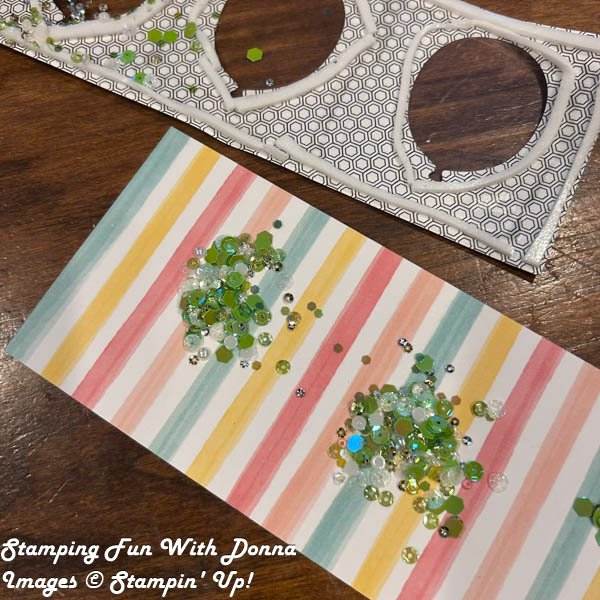
Run foam adhesive strips (or cut up foam adhesive into strips youself) around the edges of the balloon and also along the top, bottom, and sides, on top of where you put the glue. The foam adhesive will keep the embellishments inside the shaker card, so be careful to make sure the strips cover the outside of the balloons completely (no gaps for embellishments to fall out of). Using the mottled piece with the die cuts as a guide, place your embelishments on the striped piece where they will go. Carefully place the mottled piece, foam strips down, on top of the striped piece. Be VERY CAREFUL not to have any embellisments between the paper and the foam strips, as that is how embellishments sneak out.
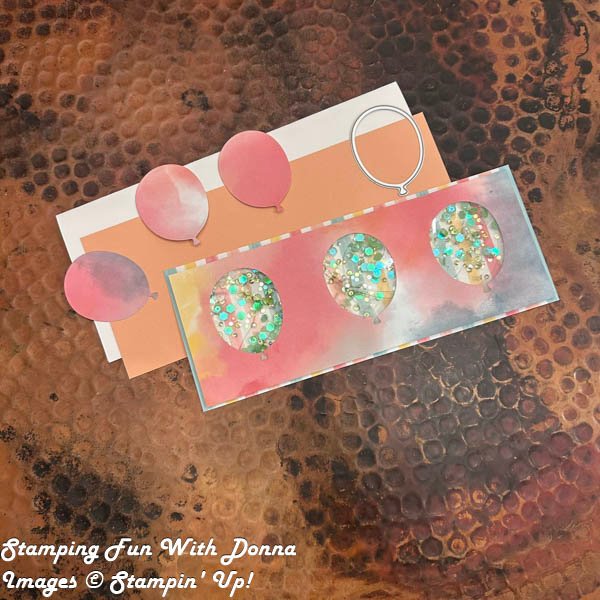
Here you can see the mottled piece on top of the striped piece with the embellishments inside. Glue that piece on the white card base. You will end up with three cut out balloons. Take one and, using the smallest balloon die cut, cut a smaller balloon from it. Keep the other two balloons for another card or project!
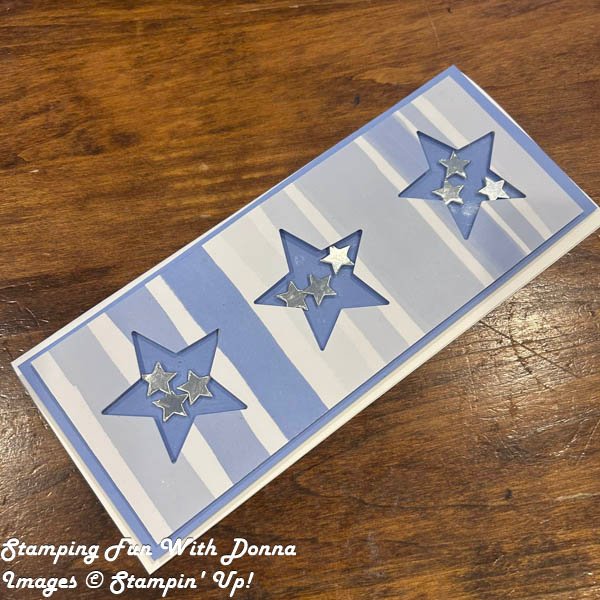
You can use many different things for the embellishments that shake. Here I used the Shining Stars dies to cut out large stars, then smaller stars to place inside. You can use any small embellishment or household item for that part. I have used sand for summer birthday cards. Just be aware the finer the shaking embellishment, the more careful you must be to contain it in the card! For sand, for example, I use just a square or rectangle (they are easier to put the foam adhesive around) and run a double layer of foam adhesive.
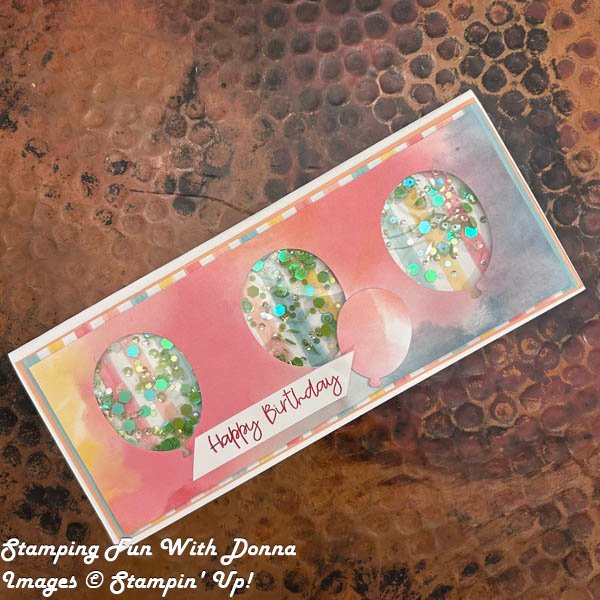
Stamp Happy Birthday from Lily of the Valley on Basic White and cut it out. Glue onto the card front, and add the small balloon you cut out. And you are done!
Shaker cards are so much fun! Please let me know if you try it. Leave a comment and let me know if you have tried this before!

This post is made in collaberation with the Butterfly Inspirations Blog Hop. Please check out all my very talented friends’ blogs. We are all CASE’ing the same card, but I will bet they are all very different. I can’t wait to see all their amazing visions!
- Patricia Houser – click here first to check out Patricia’s creation, then move on through them all until you return to my page.
- Sally McFadden
- Donna Biderman – you are here!