Stampin’ Up! Sunflower Embossing Folder – You Can’t Make a Bad Card!
Today’s Monday Mini YouTube video uses Stampin’ Up!’s Sunflower 3D Embossing Folder. It is so gorgeous – you just can’t make a bad card with it! Check out the video at https://youtu.be/hpAynhcYisc.
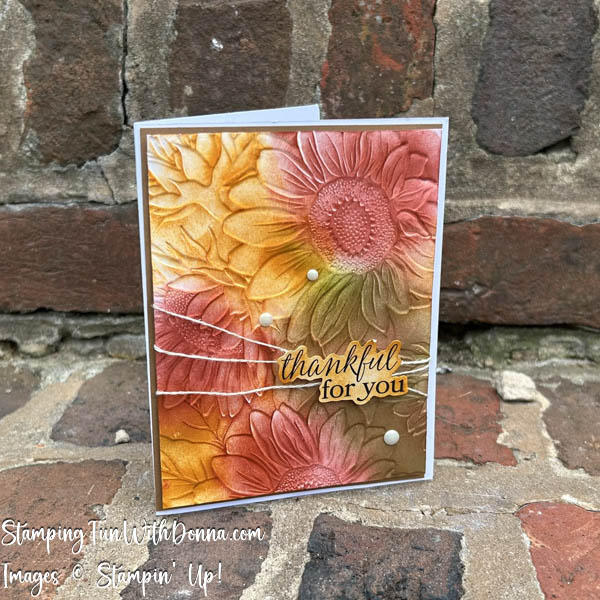
Each the cards I made came together in minutes! All you need is the Sunflower Embossing Folder, some small blending brushes, and ink and paper. You can use the embossed side or the debossed side. The embossed side is the side on the top of the folder where the Stampin’ Up! logo is, and the side where the image pops up. The debossed side is the back side, and the side where the image does down. You can use either side – both look beautiful.
For the picture above, I used the embossed side. This was the simplest of the cards I made. All I did is use small blending brushes to add color in splotches on plain Basic White cardstock cut to 5 1/4″ x 4″. I just used the brushes to add color in different areas, overlapping, and leaving no white space. I ran that paper through the Stampin’ Cut and Emboss machine with the Sunflower embossing folder. I backed the embossed piece with a piece of Pecan Pie cut to just 1/8″ larger – so I cut it to 5 3/8″ x 4 1/8″. I decorated it with white linen thread, added a sentiment from the Greetings for All Mix and Match Ephemera Pack, and then added Antique Pearls.
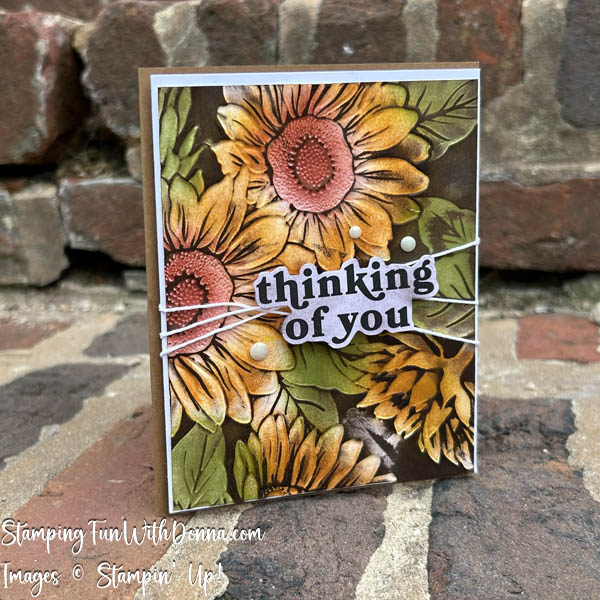
For this card, I used the debossed side of the paper. After running the card through the Sunflower Embossing Folder, I used blending brushes to add Crushed Curry, Old Olive, and Cajun Craze in the appropriate areas. After I did that, I simply ran over the card front with the Early Espresso ink pad (ink direct to paper). I ran the pad from top to bottom and from left to right lightly until I was happy with the amount of Early Espresso. Because I ran the pad over the debossed side, the background was higher than the flowers, so by lightly running the ink pad over it, it grazed some of the flowers where the detailing was, and left darker pools of color in the background. I love how it came out!
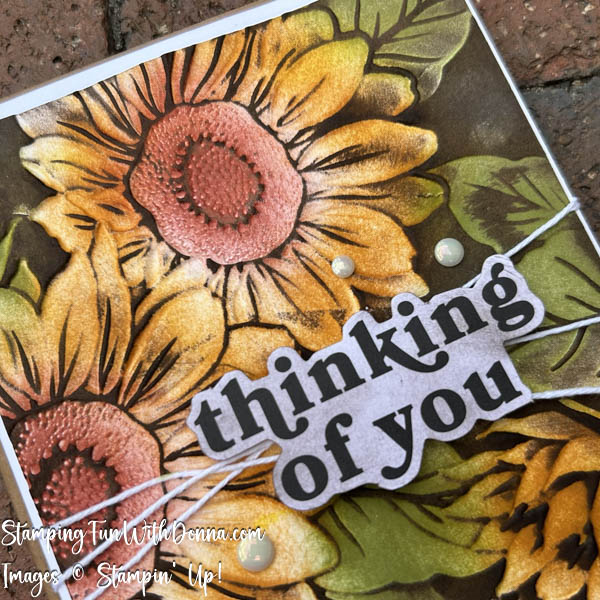
Here you can see the elements up close. I love the Antique Pearls – they are sparkly and have great depth.
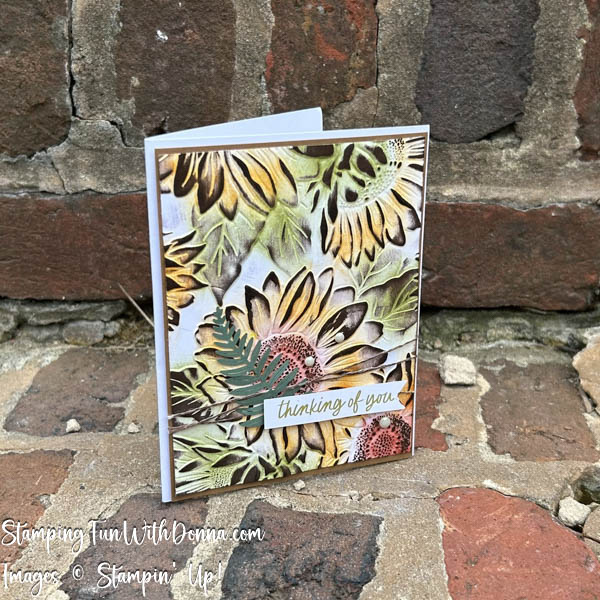
I used the same steps as above, but I did it on the embossed side. You can see that where the background above was Early Espresso, the background here is Basic White. Kind of the negative of the above. It creates a completely different look.
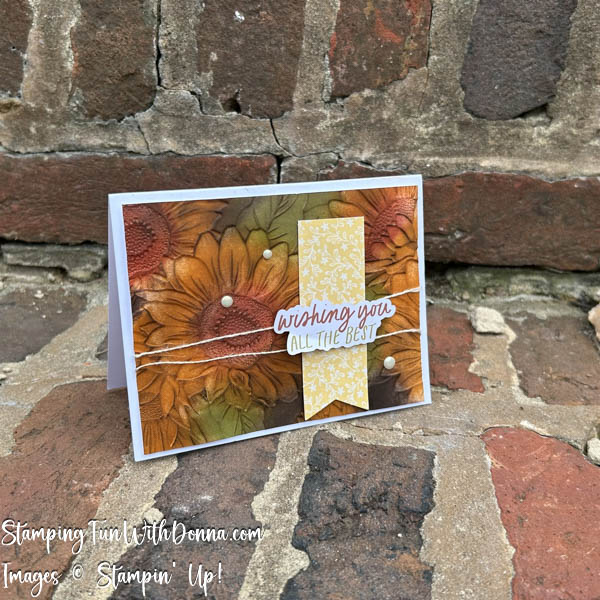
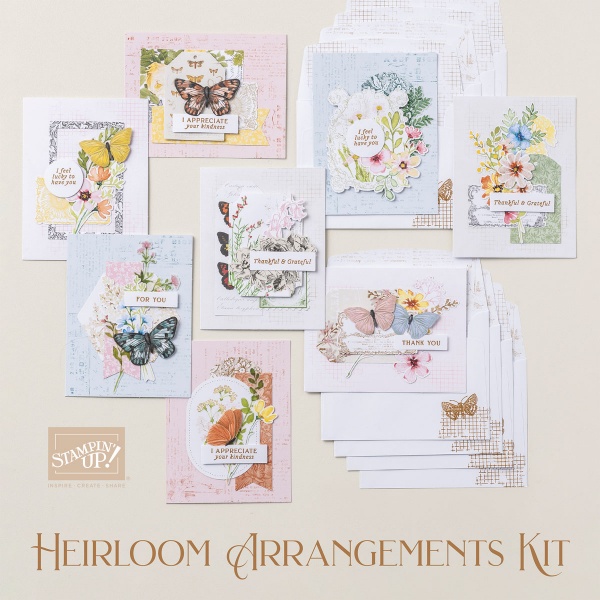
This is the card I made in the YouTube video. Here I again used the debossed side of the paper, but I did the steps in a different order. This time I used the embossing folder first. I used the Blending Brushes to add the Early Espresso ink all over the debossed side of the paper, making certain to add enough ink that it was dark enough for my liking. Then I used Blending Brushes to add Crushed Curry, Old Olive, and Cajun Craze to the appropriate spaces. You can see that the Early Espresso in the flowers is softer because the other colors were added after the Early Espresso. I went into my box where I keep my extra papers and found the banner, a leftover from the Heirloom Arrangements kit. It looked great so even though it wasn’t in my original plan, I shortened it a little and added it to the front along with the linen thread, Antique Pearls, and sentiment left over from a different kit.
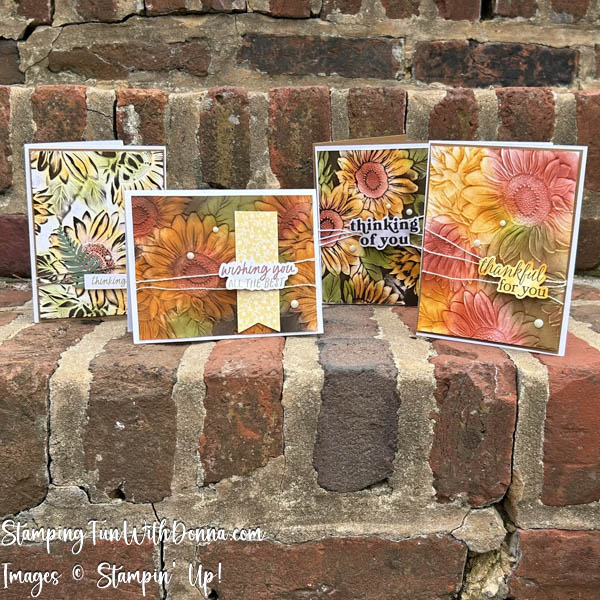
There are so many ways to use this one embossing folder! Here are just some of them. I can’t decide which is my favorite – what is yours? Please drop a comment with your favorite design, and let me know if you did it a different way.
Please check out the video at https://youtu.be/hpAynhcYisc.
Happy Stamping!
Donna